It's been a fairly settled few months in the gear cupboards at All the Gear HQ. There have been a few new additions to complement the existing collection and a few changes in colour here and there but everything I've mentioned in previous posts is still well in service. The main new addition, to which I have grown quite attached, is the excellent Arc'teryx Konseal Hoody, shown below.
The Arc'teryx Konseal Hoody
I'm a big fan of mid-layers and fleeces. Most are used largely for more day-to-day use as I find teaming a fleece with an outer too warm in most cases. That's why I like the Konseal so much and it's reserved solely for hiking; here's why.
The Konseal Hoody is a fairly minimal mid-layer or even a very heavyweight baselayer. It's made from the excellent Polartec Power Dry fabric which uses two different weaves to promote quicker wicking. In addition, the inner face has a voided fleece, much like the Rab Baseline which traps air in small channels that run throughout the top. What you get is a noticeably warm top with less bulk. In addition to this, it has a neat trick up its sleeve (or down its neck to be more precise). PowerDry is also chemically odour-resistant and contains 50% recycled material - nice.
A detailed photo of voided fleece inside the Konseal
The fit is close, as a base or mid-layer should be, allowing the fabric to work as intended, both wicking moisture and trapping the necessary air to create warmth. I had found a previous incarnation of the Konseal too small in this respect but the current model is almost perfect. I've either become smaller (unlikely) or it has been cut larger (likely).
Features
Here is a rundown of the main features of the Konseal Hoody:
Polartec Power Dry with moisture-resistant outer face fabric
ScubaHood
Integrated neck gaiter
Thumb loops
Laminated chest pocket
Details
Being a base layer / mid-layer there are not a huge number of details to mention though Arcteryx's quality is evident. The chest pocket is typically Arcteryx, laminated to the top rather than sewn, creating a seamless bond that is stronger than a traditional seam. That said, I rarely use chest pockets so this isn't big deal.
Chest pocket
Hood
The hood (Arcteryx's ScubaHood) fits close to the head like many mid-layers on the market, designed to be worn beneath a helmet but does stretch comfortably over a woolly hat.
Within the hood is hidden the excellent neck gaiter, made from Arcteryx's own Phasic fabric (this is the same fabric they use in their synthetic base layers). When not in use, the gaiter simply sits unnoticed around the back of the neck. Bring it into play (by pushing your head through it) and it acts almost like a buff and can be pulled right up over your nose.
The hidden neck gaiter
Sleeves
The sleeves are a nice length and have thumb loops that allow the sleeve to cover much of your hand though I've found they can be a little uncomfortable at times. Layered the sleeves over a thin pair of gloves creates a seamless barrier over which larger, more weather-resistant gloves can be worn. I like this approach and use it a lot.
Thumb loops if that's your thing
And that's your lot.
In Action
The Arc’teryx Konseal hoody is a great addition to a crowded market of fleeces and mid-layers. I think the concealed gaiter is perhaps its biggest selling point, and it really is a nice thing to be able to pop on. All of the features are well thought out and function perfectly, so it’s really up to the user to decide how much money to spend, how warm a fleece is needed and exactly what features will be most useful. But, as it stands, the Konseal has many charms and virtually no flaws.
As the nights draw in and weather forecasters start talking about 'snow on the tops', the high country transforms into an entirely different realm. Winter strips away the forgiving nature of the hills: a gentle summer stroll can quickly morph into a serious alpine test where weather, terrain, and margin for error shift dramatically within minutes.
The most reliable winter hiking in the UK is found in Scotland, with snow guaranteed between January and March. However, navigating Scottish winter conditions is a skill unto its own—warranting dedicated training. Having completed a winter skills course at the Plas y Brenin National Mountain Centre, I would recommend it to anyone considering taking their fell-walking into the fourth season.
⏱️ Winter Kit Essentials at a Glance
Pack: 35-45L capacity for extra bulk and fast packing in cold conditions
Safety: Whistle, high-output torch with reactive beam, and survival shelter bag
The dramatic, snow-dusted ridges of the Langdale Pikes
Pack & Navigation Strategy
I step up to a large 36-litre pack in the winter. Cold-weather gear is inherently bulkier, but there’s a vital practical reason for the extra volume: efficiency. A large pack means you can shove gear in quickly rather than fighting intricate packing arrangements—extremely useful when spindrift is flying and your fingers are cold.
Essential gear layout for a full day out in the mountains
Navigating in winter is a core element of staying safe. A map and compass are non-negotiable. Pre-calculating route bearings onto your map saves you from precise, fiddly work in harsh conditions. Laminated OS maps are ideal for this, as you can write directly on them in chinagraph pencil and wipe them clean afterwards.
Axes, Crampons & Boot Compatibility
Walking in winter almost instantly conjures up thoughts of specialist gear, and none are more iconic than an ice axe. They provide invaluable stability on steep ground and offer a vital line of defence should you slip.
My DMM Raptor ice axe
Ice axes come with a 'B' (Basic) or 'T' (Technical) rating stamped onto the shaft. Both are fine for general walking, but I carry a 'T' rated axe—the extra mass makes it much easier to drive the pick cleanly into frozen turf and hard-packed snow. Ensure you select a straight or slightly curved walking axe sized so the spike hangs near your ankle when held at your side; short, aggressive climbing axes are designed for vertical ice walls and are awkward for general walking support.
The golden rule in winter is simple: don't fall over. One of the best ways to achieve this is by using a pair of crampons combined with solid footwork. Crucially, crampons must be paired with suitably stiff mountaineering boots (B1 or B2 rated). Attempting to strap crampons onto flexible summer walking boots is dangerous—the boot will flex underneath the rigid crampon bar, risking metal fatigue, snapped linking bars, or the crampon popping off completely mid-slope.
Black Diamond Serac crampons paired with stiff winter boots
“
What may be a simple stroll in summer can become an absolute epic in winter.
Majestic views over Scafell and Scafell Pike in full winter coat
Layering Systems & Waterproof Protection
Managing body temperature and moisture control is the key to surviving winter walking. The standard 3-layer system remains the gold standard, though modern technical fabrics offer incredible versatility across mid-layers and active insulation:
1. Base Layer: Wicks sweat away from the skin immediately. High-grade synthetic active mesh or technical merino wool works best to prevent the rapid cooling that occurs when you stop moving.
2. Mid-Layers & Active Insulation: Gridded fleeces and highly breathable synthetic jackets allow moisture to pass through while trapping vital body heat.
3. Hard Shell Waterproofs: A robust, fully seam-sealed hardshell jacket and over-trousers form your windproof and rainproof fortress. Heavy-duty 3-layer Gore-Tex or equivalent membranes are necessary to withstand the punishing combination of gale-force winds, driven sleet, and sharp ice.
4. Stationary Belay Layer: Having a warm over-jacket stored right at the top of your pack is non-negotiable. While down offers impressive warmth-to-weight, UK winters are wet and maritime—the moment down gets saturated by driving sleet or spindrift, it completely collapses and loses all insulation. For British fell-walking, synthetic insulation (such as PrimaLoft) is vastly superior, as it continues to trap heat even when damp.
Spindrift whipping off the ridge at Helm Crag
Goggles might seem an odd addition at first, but when you're staring down 40-knot gusts of driving spindrift, you'll be glad you have them. I was once turned back from Helm Crag for precisely this reason. A basic pair around £20 is all it takes to keep you moving safely.
⚠️
Rule of Thumb: Glove Redundancy
Always pack at least 3 to 4 pairs of gloves for an all-day winter walk. They get soaked quickly and can easily blow away in high winds. Carry thin liners, warm fleece mid-weights, heavy waterproof outers, and a dry spare set.
A typical layered array of gloves
With daylight fading early, a high-output headtorch is essential. I carry a Petzl Tikka RXP for its reactive lighting technology, which adjusts brightness automatically and saves battery life in freezing conditions.
Wide open winter views across Ribblesdale
Full Winter Gear List Breakdown
Category
Equipment Choice
Primary Function
Carrying
36L Mountaineering Pack
High volume for bulky cold layers
Footwear
B1 / B2 Rated Stiff Boots
Essential rigid platform for crampon safety
Hard Shell
Heavyweight 3-Layer Waterproofs
Full wind and driven rain shield
Insulation
Heavyweight Synthetic Belay Jacket
Stationary warmth (retains loft when wet)
Hardware
DMM Raptor Ice Axe (T-Rated)
Ankle-length walking axe for balance & self-arrest
Traction
Black Diamond Serac Crampons
Frozen turf & hard snow grip
Lighting
Petzl Tikka RXP + Alpkit Backup
Reactive lighting for dark descents
Safety
Blizzard Survival Bag & Whistle
Emergency shelter & signalling
Eyewear
Ventilated Ski Goggles
Spindrift & whiteout vision protection
The rewards for lugging this extra gear are immense. Frozen landscapes, crisp alpine air, and solitude offer a grandeur that summer walking simply can't match. Is there anything you think I've missed from this list or a piece of kit you never leave home without in winter? Let me know in the comments below!
'Fusion' and 'Hybrid' are becoming the current buzzwords of the outdoors industry, but what does it actually mean? The definition, according to the All the Gear dictionary, is "something having two kinds of components that produce the same or similar results". So how does this work with outdoor gear? Montane has decided to deliver a lesson.
New into All the Gear HQ is Montane's winter 2017 flagship jacket, the Quattro Fusion, a perfect example of hybrid construction powered by scientific thinking.
The Montane Quattro Fusion Jacket in Arbor
The jacket will set you back £225 when it hits the shops in the autumn, a high price to pay considering it is 'just' a jacket. But with the price comes an innovative insulation piece designed to deliver warmth and breathability exactly where it is needed.
The 'hybrid' aspect of the jacket are Montane's use of insulation materials; down and Polartec Alpha Direct, cleverly distributed around the jacket to maximise the benefits of both materials. The jacket has been developed using thermal imaging data stemming from research undertaken at Northumbria University. Body temperatures were tested in a range of simulated cold and wet conditions with the results being used to create the jacket’s hybrid fabric construction and body-mapped design. That places down against parts that need to be kept warm (the front, kidneys, upper arms and top of head) and the more breathable Polartec Alpha Direct on places where heat can be allowed to dissipate (shoulders, lower arms, underarms and back).
The result is a rather unique, futuristic-looking beast, so let's take a closer look.
Features:
Water-resistant Pertex Quantum and Pertex Quantum Pro outer
800+ fill HyperDRY Down
Polartec Alpha Direct fleece lining
Helmet-compatible, adjustable hood
High storm collar
Profiled sleeves
3 pockets
Adjustable hem
As you can see from the photo above, the fit is nice and neat (I'm wearing a medium over just a t-shirt). This is to minimise the circulation of air around the jacket as you move around, preventing cold drafts from blowing in and out. It's also designed as a mid-layer, rather than a traditional down belay jacket. The Pertex fabric is lovely and smooth, and layers beneath a shell easily.
The Quattro Fusion layered beneath my ME Lhotse waterproof
Hybrid Construction
As I mentioned before, two types of insulation are present in this jacket; hydrophobic down where warmth is needed and Polartec Alpha Direct where breathability is needed. The down used in the jacket is responsible sourced (certified by the Responsible Down Standard) and is made water-resistant thanks to a fluorocarbon-free treatment. This means that the down shouldn't turn into a wet mess as soon as it's exposed to moisture.
The down is housed in narrow baffles, preventing it from migrating around the jacket
The more breathable areas are insulated using Polartec Alpha Direct, a variant of the excellent Polartec Alpha. Think of it as a modern take on pile-lining, though not as warm as its old school inspiration. It's designed to keep you warm while on the move while also retaining heat when you stop.
The furry Polartec Alpha Direct across the back of the jacket
Designing the location of the two insulation layers has been done in collaboration with Northumbria University and Montane's in-house extreme climber Andy Kirkpatrick. Using a climate chamber and thermal imaging, Montane have mapped which parts of the body are warmer and which are cooler. The only image I can find to express this is from UK based brand Berghaus who utilise the same technology on the Ulvetanna Hybrid Down jacket.
Location of the down and Polartec Alpha Direct
The Hood
The hood is designed to fit over a climbing helmet, however, thanks to the three adjusters, it fits rather well over a bare head as well. It features down across the top of the head to minimise heat loss and a modest visor to keep wind and snow (probably) out of your eyes.
Details
The cuffs are elasticated and are neat and tidy - they should layer beneath winter gloves well. They could prove troublesome if you like your jacket to fit over your gloves rather than underneath.
Elasticated cuff
Hem drawcords sit inside the hem on either side to help seal out any drafts. Again, these are nothing special but are neat and functional.
One of the hem adjusters
The jacket is finished off with two hand pockets, located to be compatible with a climbing harness, and a concealed chest pocket.
Verdict
Given that it's the summer, it's not been cold enough to put this jacket through its paces yet but I'm looking forward to giving it a go. Montane is well known for producing high-quality gear and this seems no exception, even if it is a sample. The fit is very nice - not too loose or tight and about the right length for me and, as demonstrated, it layers well beneath a shell. It's not bulky or restrictive in any way and, once it's on, you'll probably forget you're wearing it, which is usually the sign of an excellent jacket. Roll on winter.
The weather more or less dictated the choice of this walk. Eager to get out but hamstrung by low cloud and the threat of rain, we chose to avoid any of the high Carneddau and opted for the easternmost summits of the range - the modest peaks that form Creigiau Gleision.
There are three main summits on the Creigiau Gleision ridge; that of Creigiau Gleision itself, its North Top and the southern peak of Craiglwyn. In addition, we'd be tackling two minor peaks; the delightful Crimpiau and Craig Wen.
After a restful night in Manchester, a crack-of-dawn start wasn't required - it's an easy drive along the North Wales coast, ultimately ending up in Capel-Curig, a small village that holds the dubious honour of being one of the wettest places in the UK.
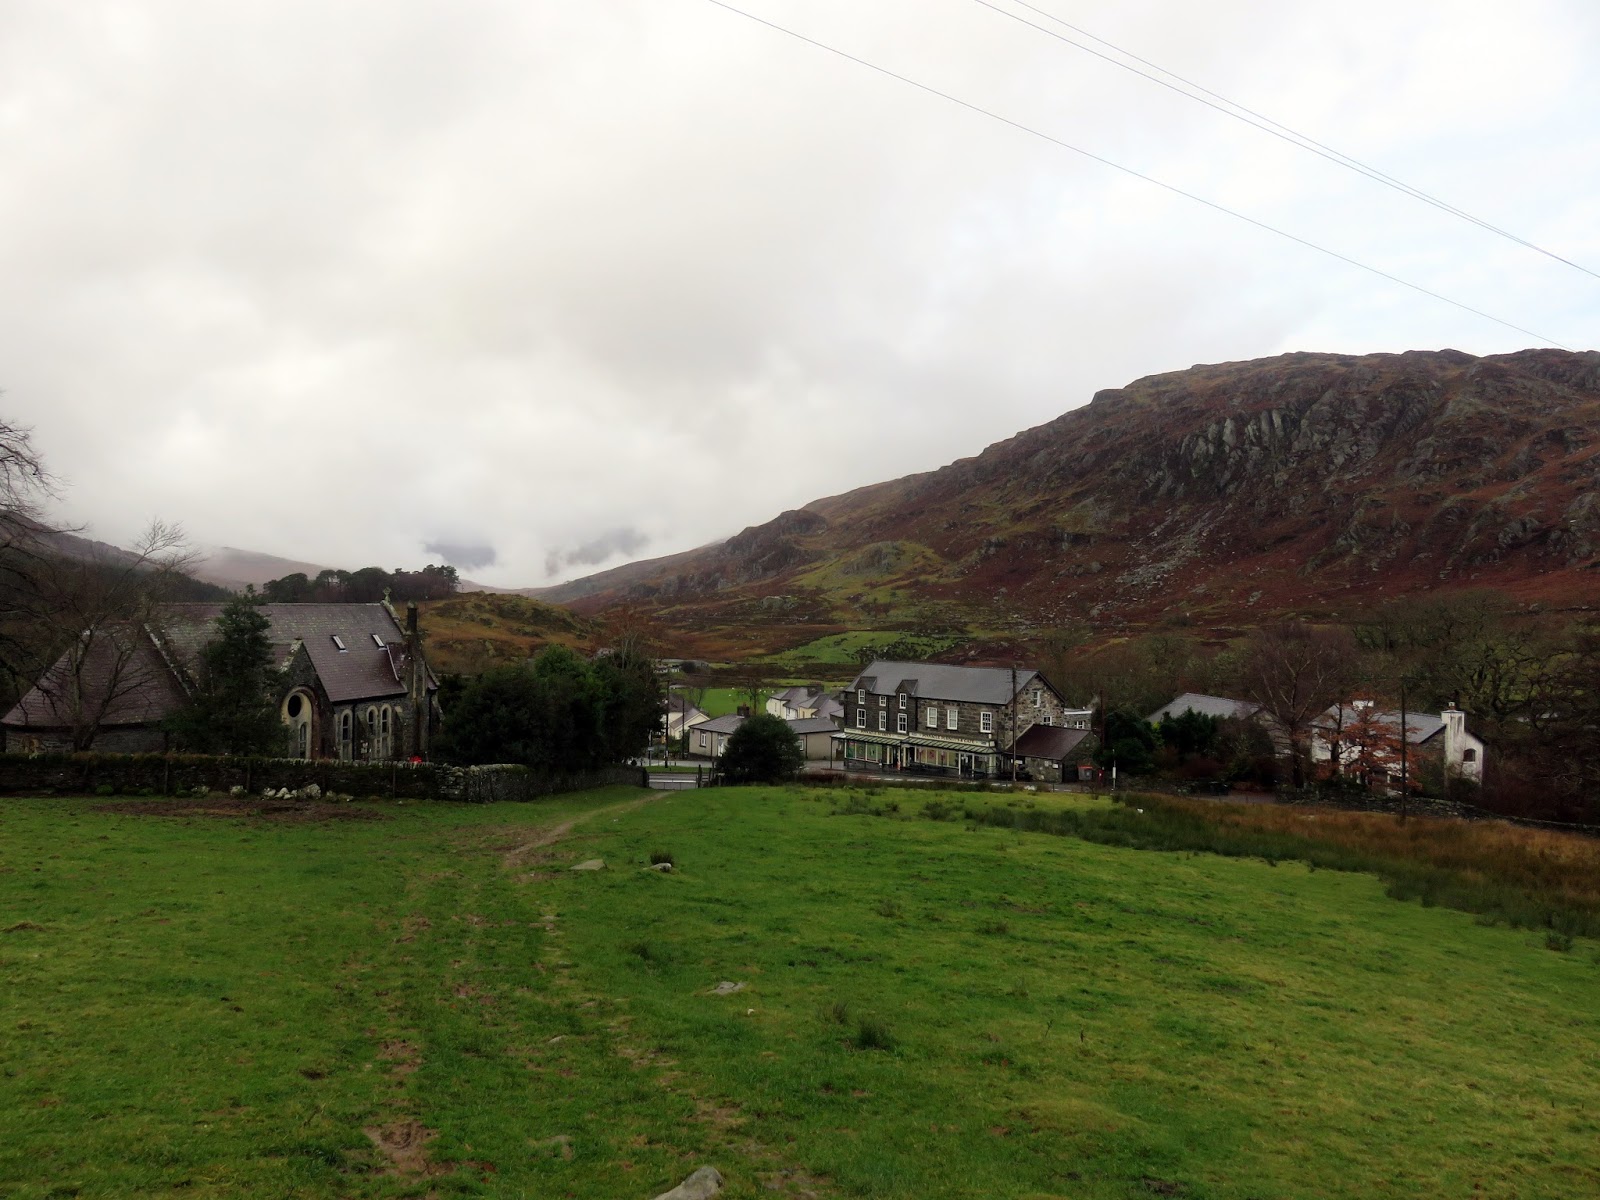
Morning in Capel Curig
We parked up in one of the National Park car parks behind the excellent Joe Brown's. With one eye on the clouds swirling around, we set off, crossing the A5 and joining the bridleway that links Capel-Curig with Trefriw, once an important trade route.
The bridleway as it leaves Capel Curig
Clogwyn Mawr
The path passes through some modest woodland
Looking back towards Cefn y Capel
The path passes the church of Saint Julitta, from which the village takes its name as tradition claims this chapel to be the 6th-century foundation of St. Curig, a Celtic bishop. The bridleway climbs into a hanging valley above Capel-Curig which seems a million miles away from the busy road below. Nant y Geuallt has a laborious task of flowing through here - I'm sure most of it gets trapped in the valley bogs before it gets a choice to join the Afon Llugwy.
Crimpiau up ahead
Clogwyn Mawr over Nant y Geuallt
The path climbs easily further, reaching the summit of the pass before it descends towards Llyn Crafnant. Here, we diverted off, following another, much smaller path that would take us to the summit of Crimpiau. The climb is straightforward, following a path not marked on the map and, before long, we reached the cloudy summit.
The wall at the top of the pass
A peep into Llyn Crafnant
Climbing Crimpiau
Approaching the summit
The summit of Crimpiau
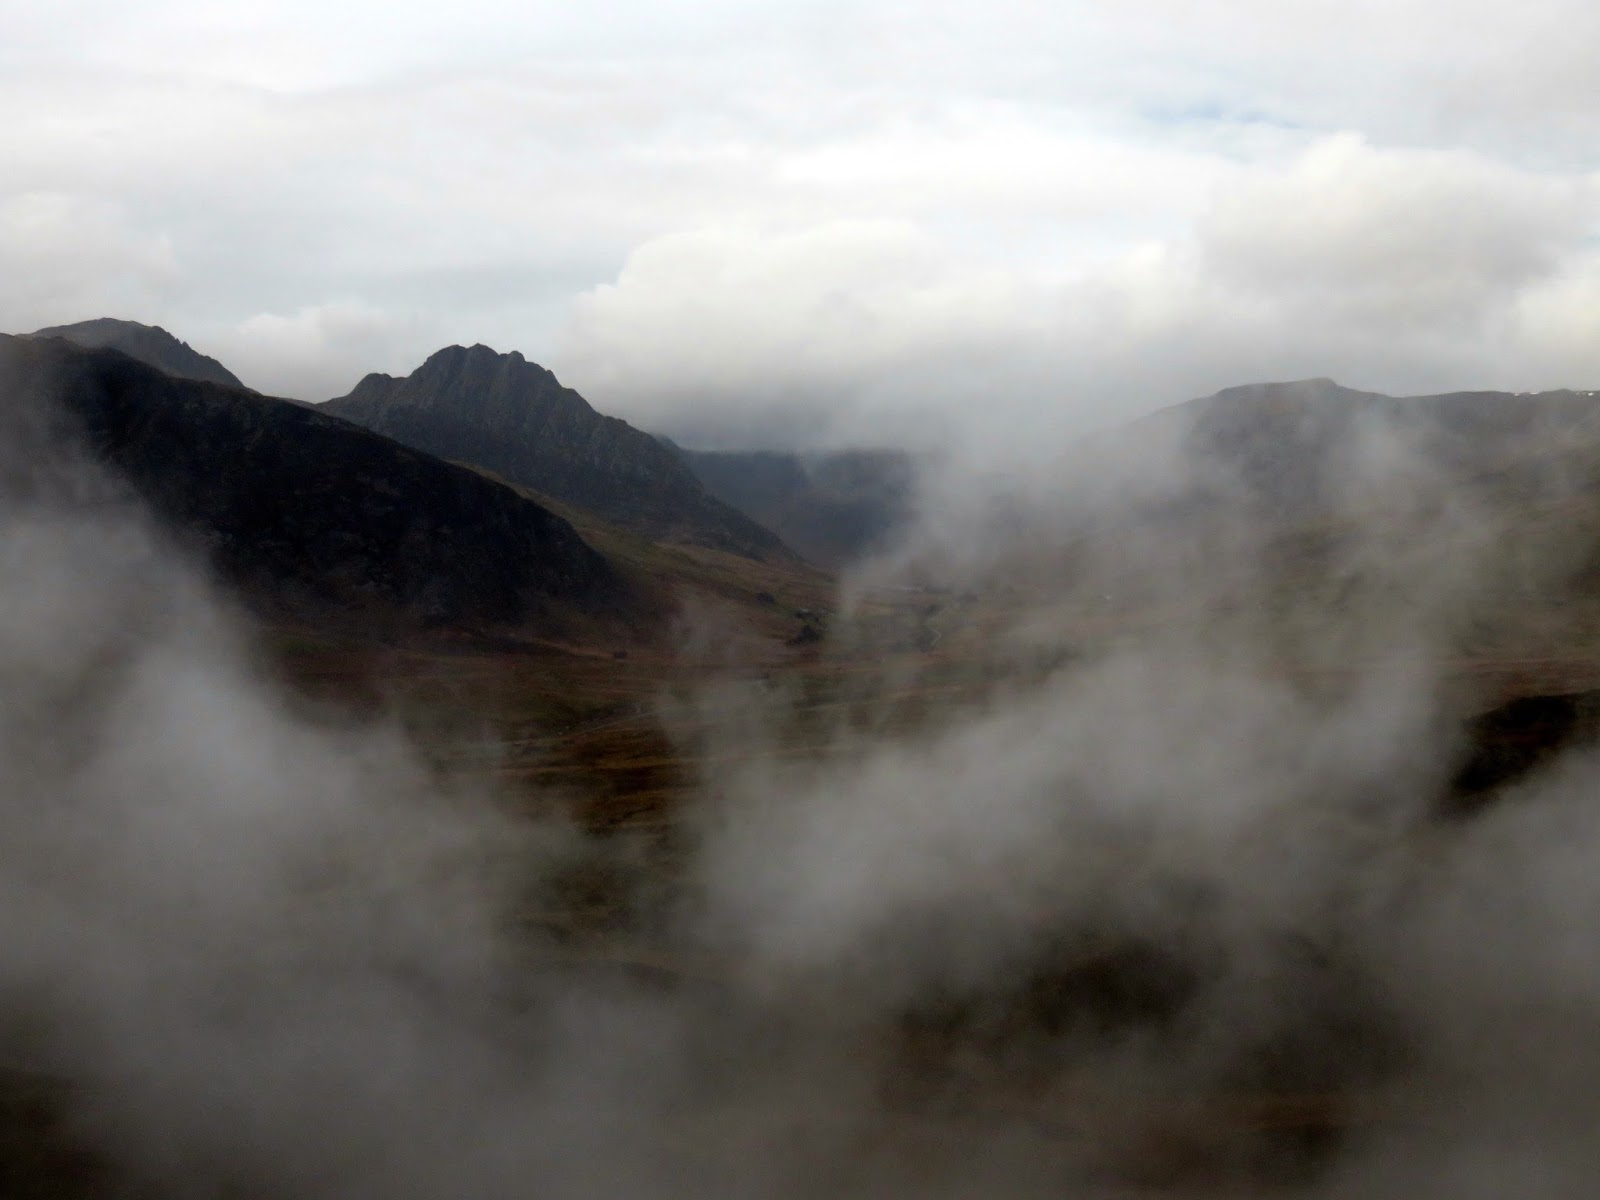
Views from Crimpiau are supposed to impress though cloud covered much of it today. There were an exciting couple of moments when the Ogwen valley was revealed along with the unmistakable serrated outline of Tryfan. While the clouds were briefly parted, we were able to plot our route across to Craig Wen, a prominent crag at the head of the Llyn Crafnant valley.
We groped our way through the mists, following a drystone wall for the most part. Again, there is a path on the ground not marked on the map that did lead us up to the summit. There wasn't much joy to be had on Craig Wen so we continued on towards the Creigiau Gleision ridge. After briefly dropping from Craig Wen, the route climbs up around the outcrop of Moel Ddefeid heading for Craiglwyn.
Craig Wen
Looking towards Cefn y Capel
Craiglwyn, despite being the southern end of the Creigiau Gleision ridge, is both tall enough and prominent enough to be classed as a Nuttall in its own right though we had to spend a few minutes consulting the map in the mists in order to find it. After a quick snack break, it was on to Creigiau Gleision itself - the highest point that is, which stands almost immediately north of Craiglwyn over a boggy depression.
As we made our way to the summit, the clouds eventually, albeit slowly, started to lift and we could see glimpses of Pen Llithrig y Wrach across the valley and the immense Llyn Cowlyd below. Creigiau Gleision is the easternmost of the Carneddau, to the east the slopes eventually reach the Afon Conwy and the boundary of the Snowdonia National Park.
The views, which were now clearing, are extensive including the coast to the north and Snowdon to the southwest along the valley of Dyffryn Mymbyr. More boggy ground lies in wait between the main summit and the outlying North Top approximately 1km away. Views down the cliffs of Marian-mawr into Llyn Cowlyd are impressive.
We had considered two routes to return to Capel-Curig; one via the shores of the reservoir and one through the woods above Llyn Crafnant. With the threat of afternoon rain, we chose the latter, if the rain arrived as forecast we'd have some moderate shelter for a time.
Looking northeast over Afon Ddu and Moel Eilio
Getting to the woods requires the crossing of numerous bogs and marshes, the final straw being a stile over a fence located on the other side of a very wet and no doubt deep bog. Why? Could the stile not have been built on the near side of the bog? I think it was a cruel joke. Either way, we managed to cross unscathed - just.
The bog with the stile on the other side
We followed a faint path across yet more bogs to the edge of the woods where a stile crosses the boundary fence. Surely the woods would provide a respite from the water? Not a chance. Through dry in the occasional place, the route through the woods was more river than a path, culminating in a crossing of a fairly deep stream.
Feeling festive
Entering the woods
The woods above Llyn Crafnant
The stream crossing
We emerged from the woods at Blaen y nant, relatively unscathed after our adventure. Blaen y nant sits at the end of the Crafnant valley, the same valley we had peering into earlier in the day - now we were in the depths of it though it is very pleasant. Our route back towards Capel Curig required a short climb out of the valley, up to the point on the path where we had left it to climb Crimpiau earlier in the day.
A steady rain had started to fall but, by now, we were retracing our steps around Nant y Geuallt to the path that leads back to the car. Despite the weather, a few fleeting glimpses of Tryfan made all the difference to this walk. We were actually quite lucky that the forecast didn't hold true and, despite the last half hour or so, remained largely dry (overhead at least). As I had thought when beginning this walk, we didn't encounter another soul all day; I imagine these modest hills would be a good option to avoid the crowded summits of the Glyders or Snowdon.