A Tour of Ennerdale including Pillar Rock and the Shamrock Traverse
Carving a dramatic 28.5-kilometer circuit around the rugged perimeter of Ennerdale, this high-level horseshoe is a masterclass in Lakeland wilderness and endurance. The route links ten distinct summits—from Great Borne and the High Stile range to the formidable southern heights of Haycock and Caw Fell—punctuated by a steep drop to Black Sail Hut. Its crown jewel is the legendary High Level Route onto Pillar, weaving beneath towering precipices to Robinson’s Cairn and negotiating the airy shelf of the Shamrock Traverse, demanding over 2,100 metres of ascent for some of the most wildest views in the National Park.
A Tour of Ennerdale including Pillar Rock & the Shamrock Traverse
Chapel Crags, Comb Crags, Gamlin End, Scarth Gap Pass, Black Sail, High Level Route, Pillar Cove, Robinson's Cairn, Pillar Rock, Wind Gap
🗺️ Interactive Route MapPinch or use wheel to zoom
Having seen a similar walk on the excellent Striding Edge, I'd been itching (figuratively rather than literally) to get a long Lakeland day beneath my boots now that the days are a bit more accommodating. This walk would take in some of the highlights of Ennerdale, which, at around 15 kilometres long, makes it a bit of a challenge to complete a typical 'horseshoe' type walk without a camp halfway. The only other way for a mere mortal like myself to see the delights of both the High Stile ridge and the Pillar ridge (while including the seemingly insurmountable Pillar Rock) was to add in a descent to Black Sail and a climb up the Black Sail Pass and subsequently Pillar itself, a rigorous demand.
Ennerdale Water is the Lake District's most westerly waterbody, and the valley that bears its name remains largely untouched from development (though this didn't stop the war-era planting of conifers, which are, gladly, now starting to be replaced thanks to the Wild Ennerdale project). It retains a remoteness that is difficult to equal in the Lakes; the depths of Eskdale is perhaps its only rival.
I was up early on Sunday morning, abandoning the cosiness of the bed in favour of a three-hour drive up and around to Ennerdale, arriving at the large car park at Bowness Knott just before 8.15, having made good time up the A1 – no one is around at 6 in the morning. After packing more water and food than clothing, I set off up the road around the base of Bowness Knott to Rake Beck, beginning the first climb of the day. The path rises towards Brown Howe, meeting what appears to be a shelter cairn or sheepfold but is, in fact, an old fox-trap, using the classic and well-established design of easy to enter, difficult to escape. It's easy to imagine what Fox's fate would have been; I can't think that Lakeland shepherds are all that forgiving.
Herdus presents the first challenge of the day
The path leads up the side of the fell following Rake Beck
View towards Ennerdale Bridge
Brown Howe with Bowness Knott and Crag Fell beyond
Looking up the path to Rake Beck
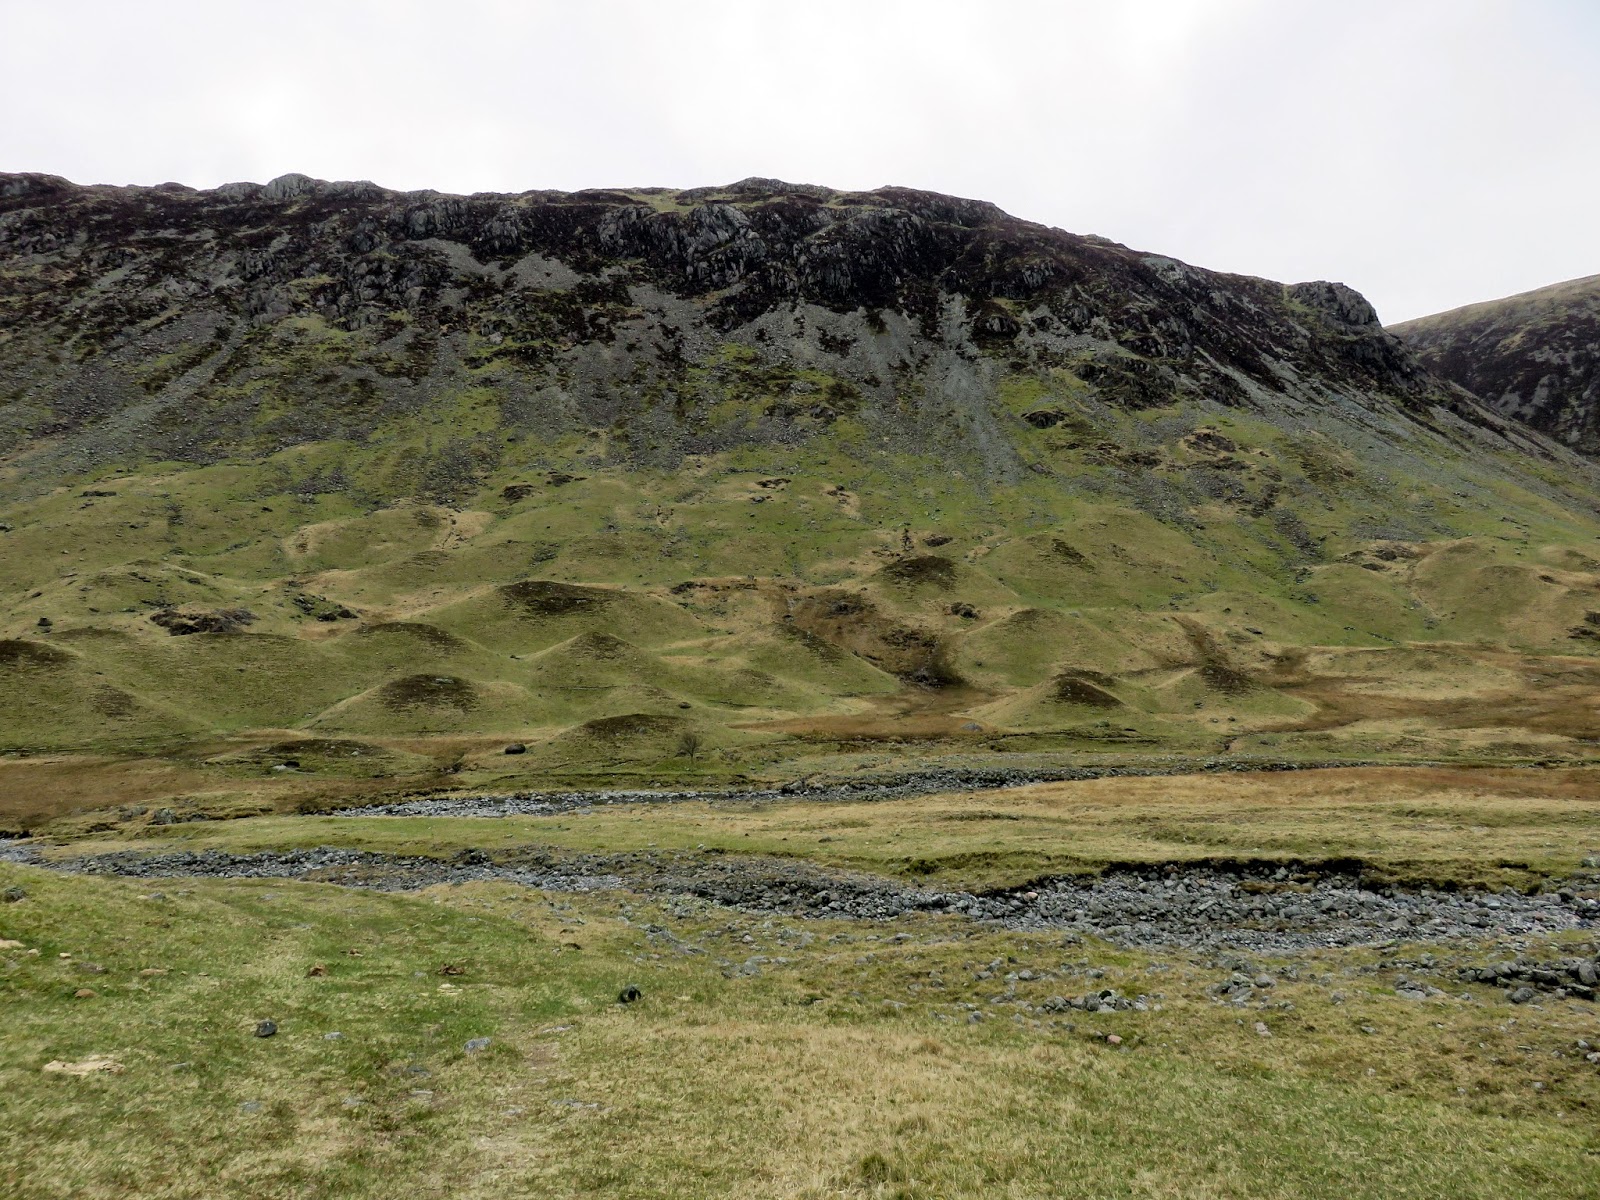
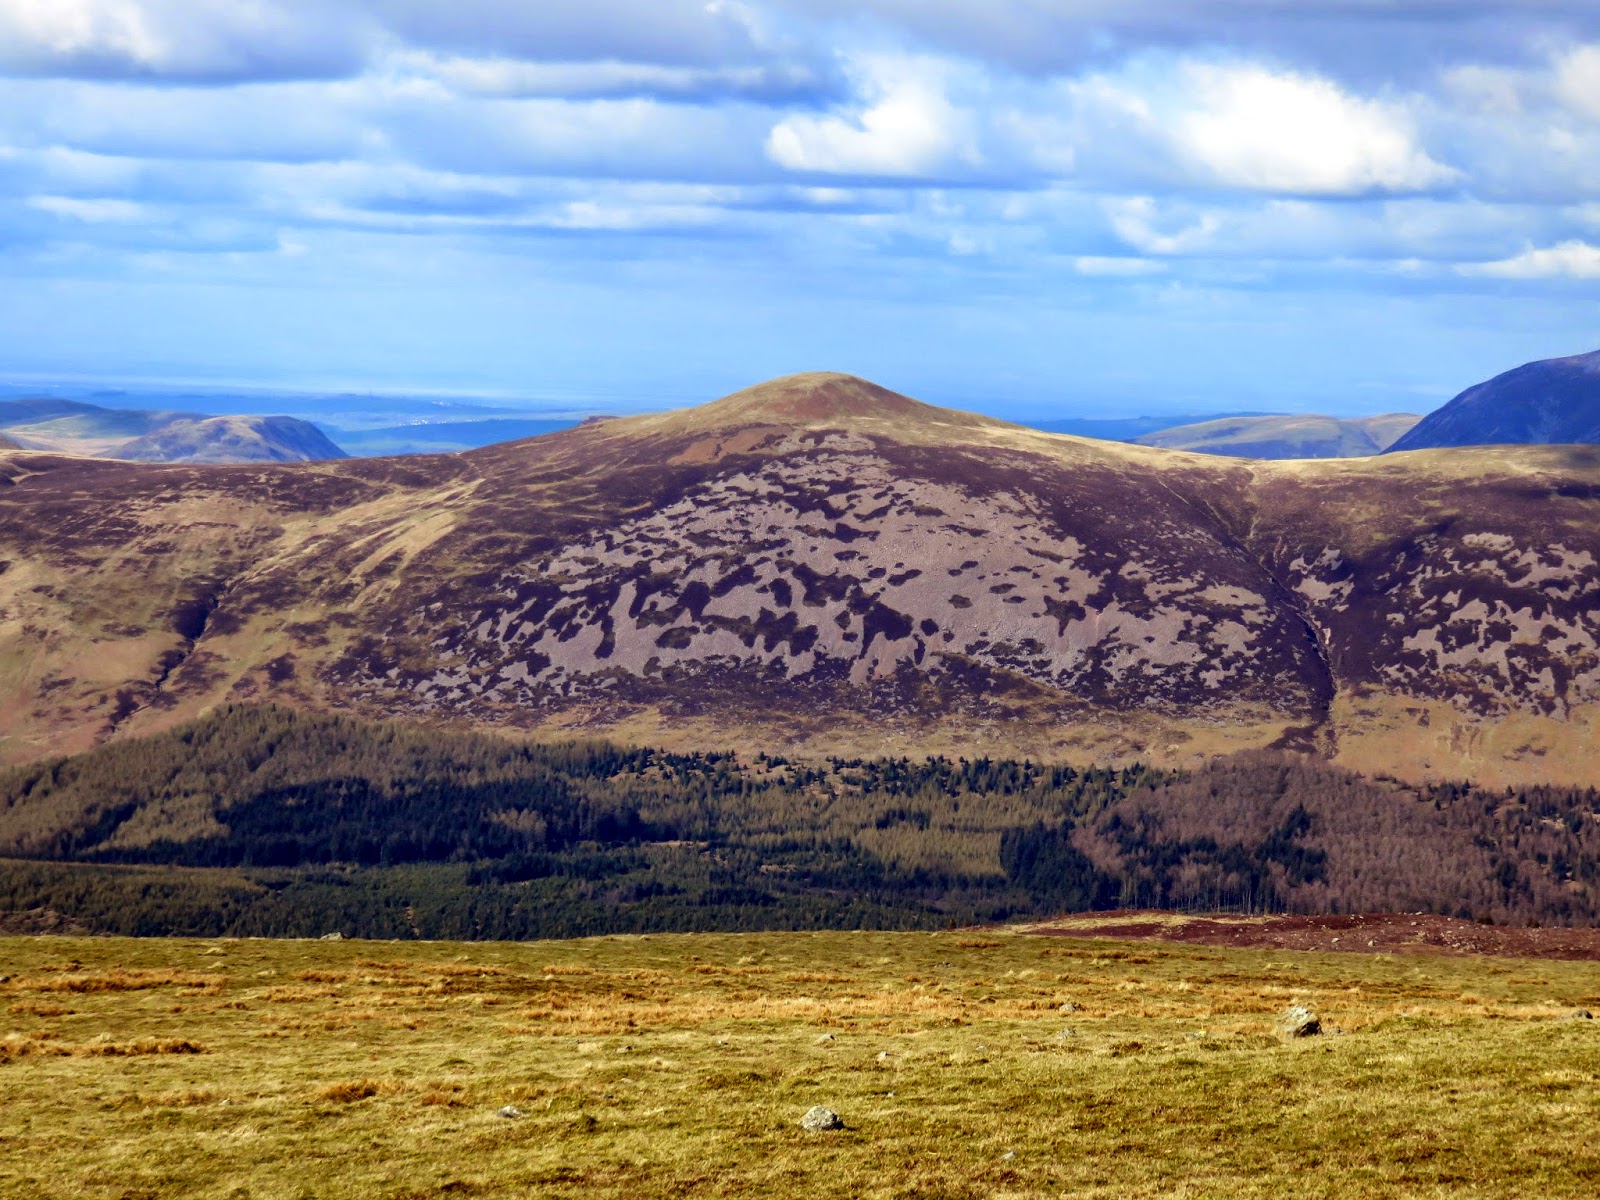
Haycock across the valley – the afternoon's descent is down the long sweeping ridge in the centre
The fox trap
From the fox-trap, the path climbs up alongside Rake Beck, following its route in a straight line to the upper slopes of Great Borne, the first target of the day. A short grassy climb reaches the summit. Great Borne (or Herdus if you're a local) is thought to take its name from the translated French meaning 'Great Boundary'. This seems fairly apt, as Great Borne marks the beginning of the ridge that divides Buttermere and Ennerdale, running some 7 miles to Brandreth and onto Great Gable, though it is actually thought to be a reference to the edge of the ancient Loweswater forest.
The ravine containing Rake Beck
Looking down the top of the waterfall on Rake Beck
Bowness Knott and Crag Fell
The summit of Great Borne
The route from Great Borne is obvious and easy-going, crossing Starling Dodd and climbing up to Red Pike. The slopes of Starling Dodd are home to what is thought to be the Lakelands' highest unbroken waterfall, the 100 ft drop of Scale Force, which we visited on a previous walk. Aside from that, attention is usually drawn to the unusual cairn rather than its impressive view of Pillar and Haycock, the spiky ironwork creating an odd, evil twin to the main summit cairn.
The path continues on, following the line of the old Ennerdale Fence, an estate boundary that is a regular feature around Ennerdale, following the ridgeline around the valley – an almost constant companion and a terrific aid to navigation. A steepening climb leads up to the summit of Red Pike, arguably the first of the famous Buttermere fells and the first of the really popular fells on this walk.
Red Pike, named for its red-tinged rocks, is a fine fell and a popular starting point along the Buttermere Edge, cradling the delightful Bleaberry Tarn in the midst of its slopes. The tarn sees no sunlight between November and March. Red Pike is also the only fell in the Buttermere trio that has a prominent subsidiary top, that of Dodd.
Panorama above Chapel Crags showing Red Pike, The Saddle, Dodd and a distant Grasmoor
No time for Dodd today; unfortunately, there was still plenty of walking to do, though there was plenty of time to do it in as the clock rolled round towards 10.30. Across the top of Chapel Crags in the indomitable High Stile, surrounded by its fortress of dark, recessed crags. Climbing High Stile marks a change in conditions underfoot, with the smooth grass of Red Pike being replaced by jumbled rock and stone. There are two tops on High Stile, the first one being a little lower than the second. It was the lower summit that Wainwright originally marked as the top; the true summit lies 1 m higher along a short spur to the north.
Dodd and Bleaberry Tarn from the gully adjacent to Chapel Crags
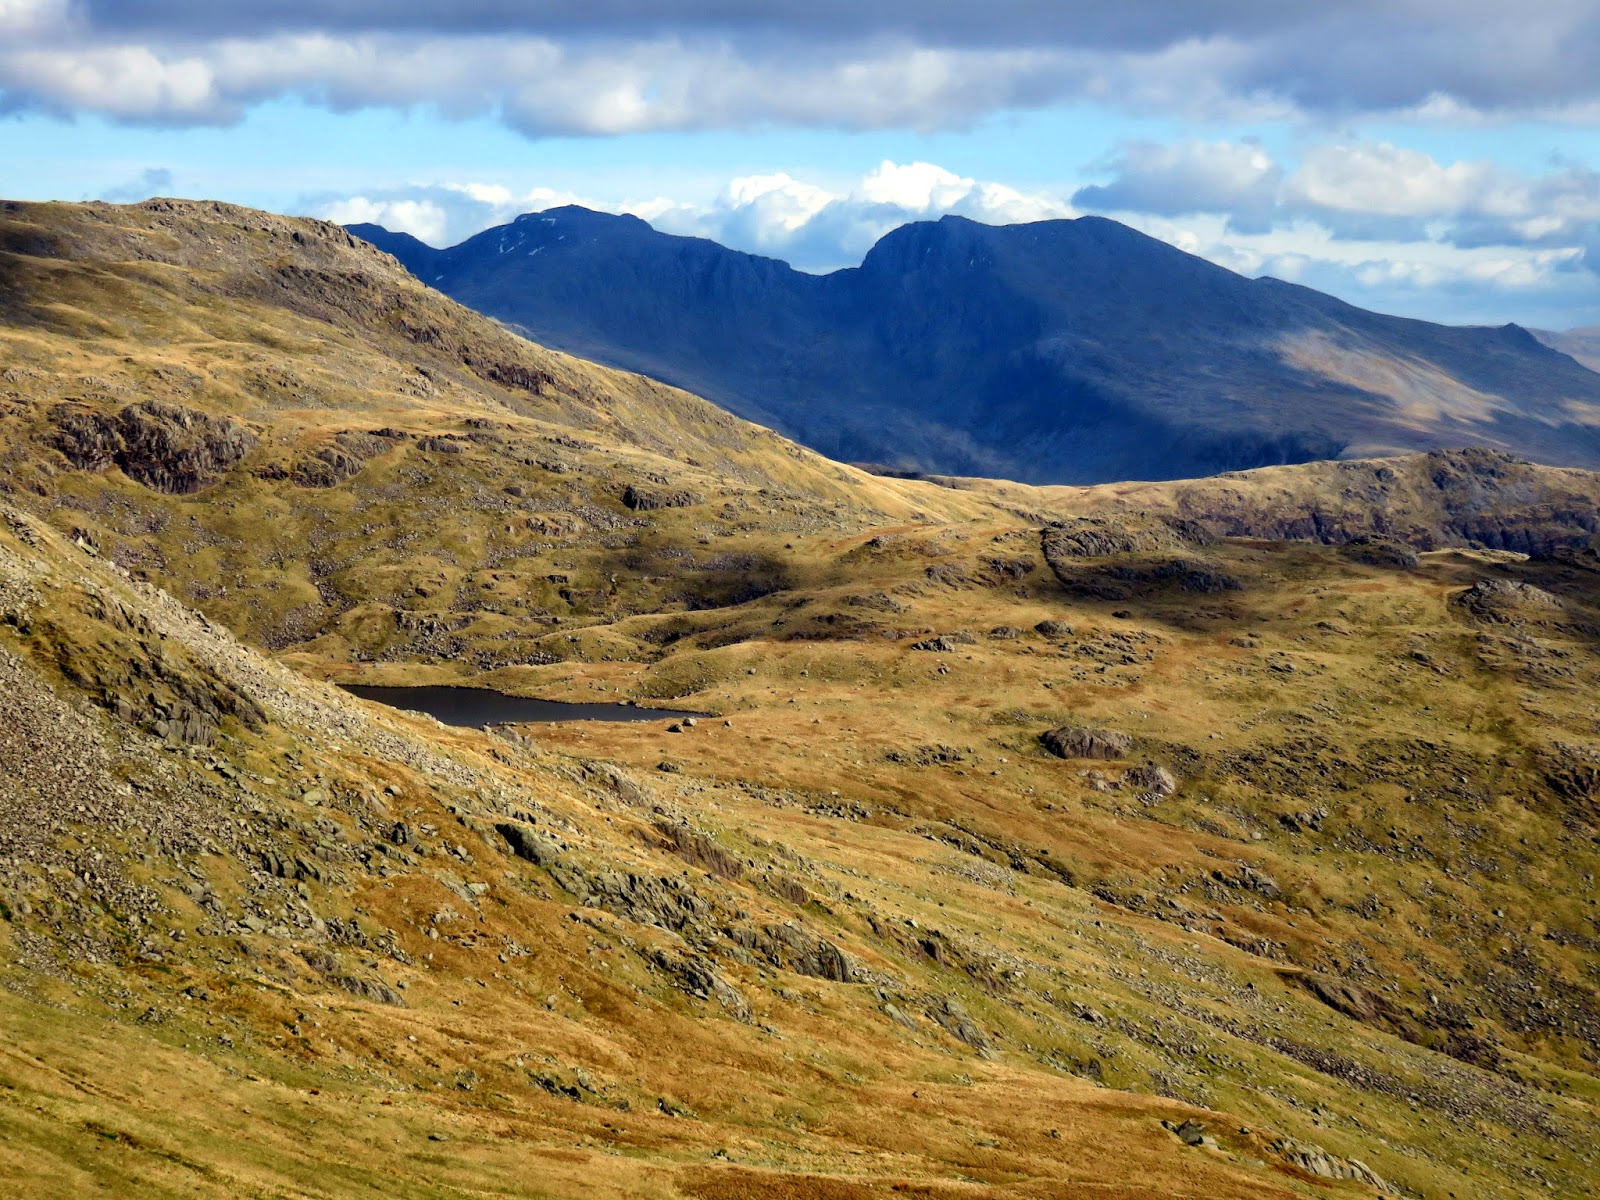
High Stile's defences are completed by Grey Crag and Eagle Crag which give way to Comb Crags, which join High Stile to the neighbouring High Crag. This section of the walk is a delight, the narrow ridge providing precipitous views down into Buttermere while Pillar shows off its magnificence across the valley. Pillar Rock, the afternoon's destination, can clearly be seen from here. If you look really closely (and know where you are looking), you can also make out Robinson's cairn, though more on that later. Sadly, the drama is over all too early as you reach the summit of High Crag and prepare for the steep descent down Gamlin End.
Gamlin End is High Crag's centrepiece, an impressive and extensive fan of scree that falls down the eastern face. Only once you've completed the knee-trembling descent can you appreciate just how steep the eastern face of High Crag really is. I've only ever come down it and, at the present moment, harbour no intent to climb it. I skirted around the small rise of Seat, which then drops even further to the Scarth Gap Pass, the footway between Buttermere and Ennerdale, which ultimately leads to Wasdale by way of Black Sail.
It was time to head back down into the depths of Ennerdale, a part of the District I've never visited before, merely having gazed down into it from the giants that surround it. Here you can find the lonely Black Sail Hut, perhaps the most remote Youth Hostel in the country, accessible to the public only on foot (wardens have the luxury of a Land Rover to ferry them around). It was here that I had decided to stop for a break, an opportunity to rest the feet for a few minutes, refill water in the pristine River Liza and cram some food down before the second half of the walk, the half that I was really looking forward to - Pillar.
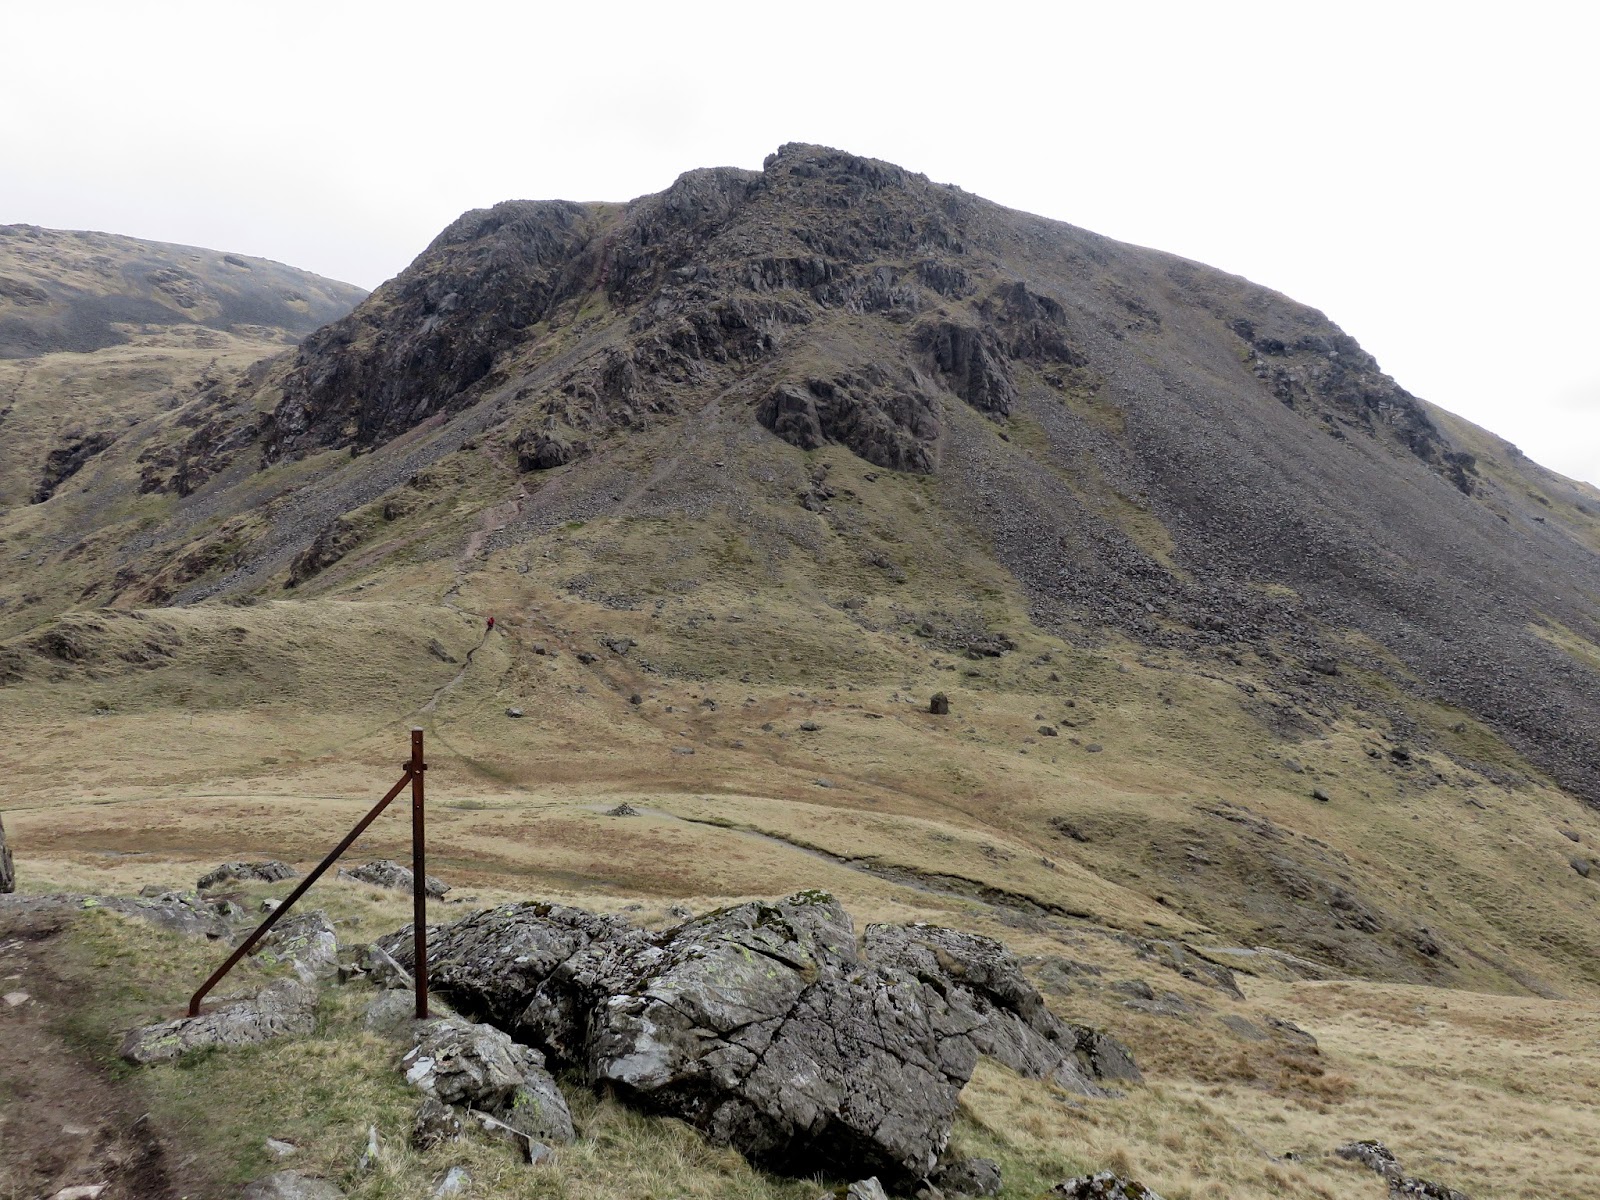
Refreshed by the short break, it was back to climbing again, this time up towards Black Sail Pass beneath the watchful eyes of Kirkfell Crags. The wind had picked up to such an extent that I was reconsidering taking the High Level Route onto Pillar; it was starting to make walking that extra bit challenging, which wouldn't be ideal on a narrow path high above Ennerdale. After passing Looking Stead (an excellent vantage point), a cairn marks the start of the High Level Route. Decision made, I was going to give it a go.
The route is actually a climbers traverse to Pillar Rock and is an amalgam of the Climbers Traverse on Bowfell and the Corridor Route to Lingmell Col - both fine routes in their own right. The High Level Route clings to the slopes of Pillar, beneath the main ridge but high above Ennerdale below, hence its name. Despite this, the path is easy to follow (once you get on to it) and isn't as intimidating as it first appears. The path crosses the top of Green Cove and Proud Knott before heading into Hind Cove. A short distance from Hind Cove is Robinson's Cairn.
Looking into Ennerdale over Green Cove
The High Level Route can clearly be seen here
The High Level Route
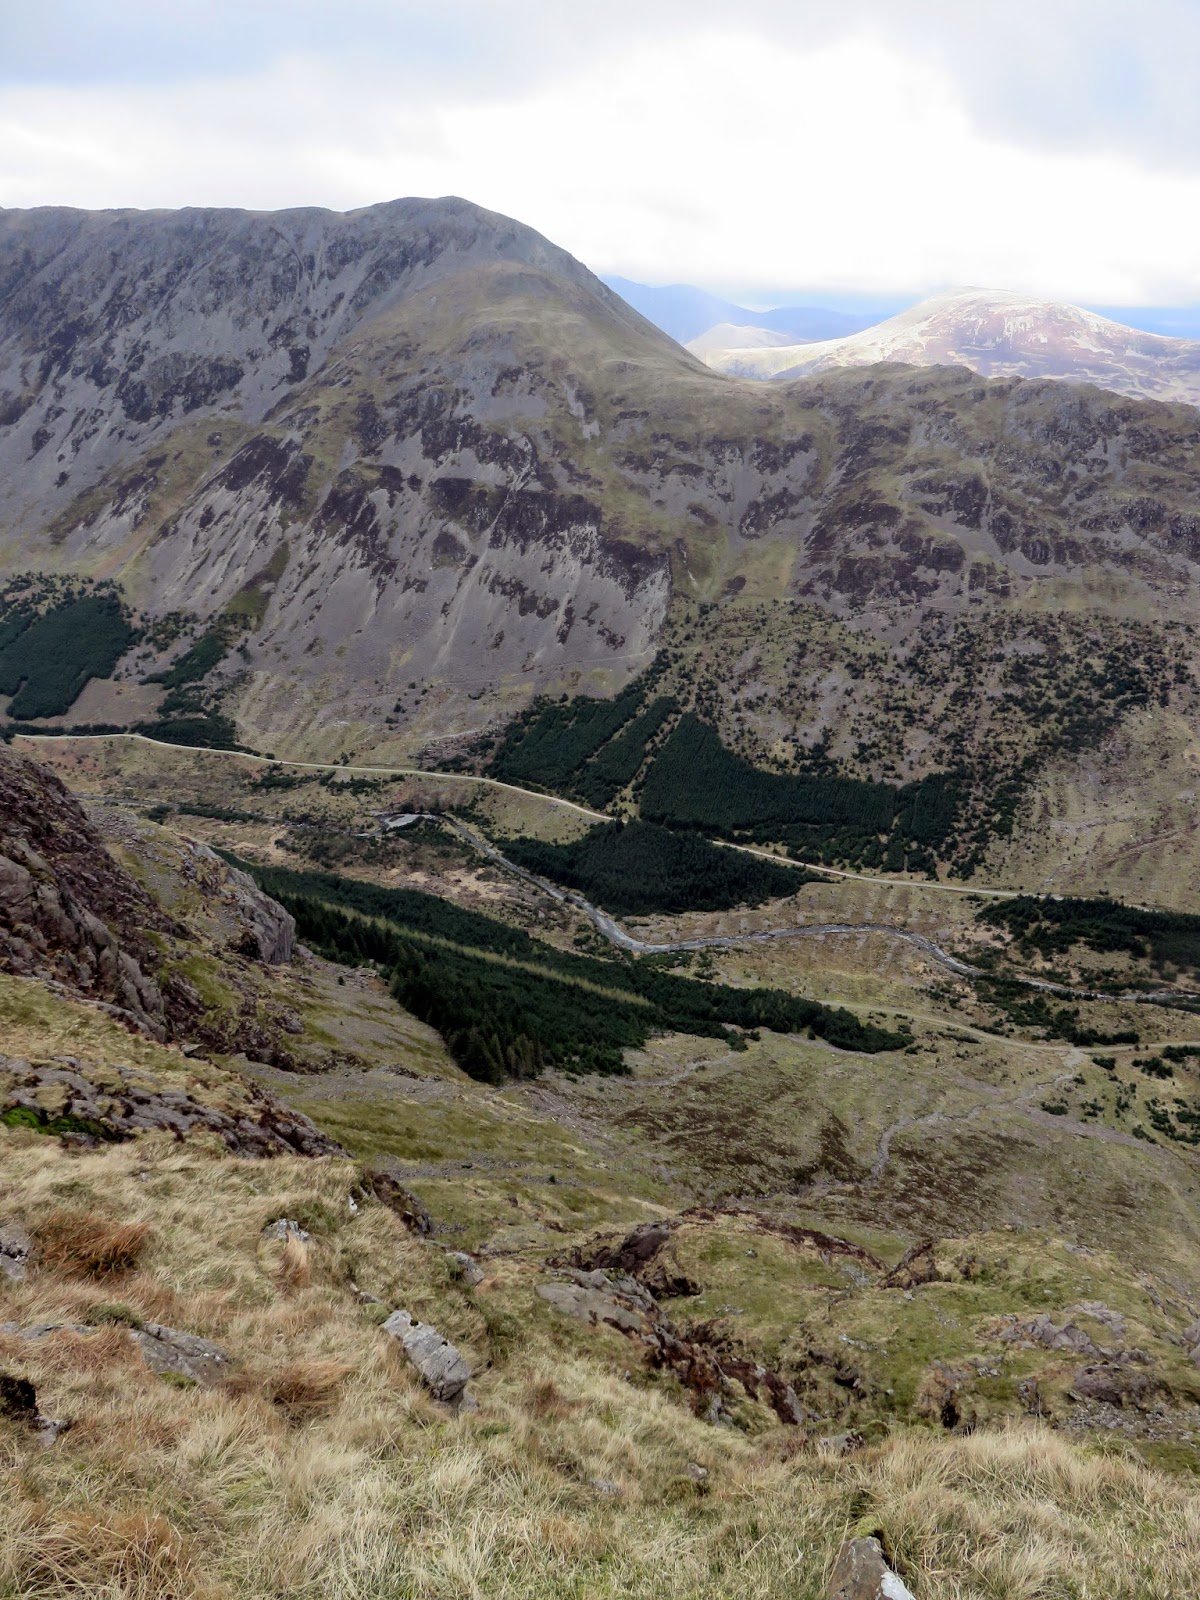
Ennerdale far below
Ennerdale from Hind Cove
The crags above Hind Cove
Hind Cove where the High Level Route becomes less exposed
Approaching Robinson's Cairn
Robinson's Cairn is a memorial to John Wilson Robinson, a local man who died in 1907, who pioneered many climbing routes on and around Pillar. While Haskett-Smith is regarded as the father of rock climbing (as a sport), Robinson is credited as being an influence on the young man, with their lasting partnership achieving some extraordinary feats. A bottle is concealed within the cairn containing a transcript of the memorial speech. The cairn is majestically perched on a rock outcrop in full view of the East face of Pillar Rock, with which his name will always be associated.
Robinson's Cairn
The memorial to John Wilson Robinson
That brings me nicely on to Pillar Rock itself, a monumental outcrop of unimaginable proportions. To add a sense of scale, here are some numbers; from base to summit it measures over 600 ft or 200 m. Still not convinced? That's the equivalent of two Big Bens, stood on top of each other. Now imagine that clinging to a mountainside. That is Pillar Rock. Wordsworth described it as resembling 'some vast building made of many crags', which is as accurate a description as you could wish to find.
Robinson's Cairn and Pillar Rock
The full scale of Pillar Rock
The Shamrock and Pillar Rock
The Shamrock Traverse
Looking back to Robinson's Cairn
Pillar Rock from Pillar Cove
The path continues into Pillar Cove, an immense amphitheatre of dark, towering crags and zigzags up to the foot of the Shamrock Traverse, a section I had been a little bit wary about. Viewed from High Stile, the traverse looks terrifying, clinging to a narrow shelf of rock high above a fall that would equal certain death. In reality, it's much tamer without any real sense of exposure or difficulty. The rock shelf the path sits on is actually a couple of metres wide, and there is no sense of danger from the imminent drop on one side. It's called the Shamrock Traverse, as it sits on top of the Sham Rock - which, when viewed from Robinson's Cairn, appears to be part of Pillar Rock when it is, in fact, entirely separate. There was, however, a tricky slippery section at the very end which did require a bit of care to cross safely.
The Shamrock Traverse
The Shamrock Traverse
Looking back down the Shamrock Traverse
Pisgah and High Man make up the top of Pillar Rock
The path carries on up the tilted shelf
Pillar Rock from the top of the Shamrock Traverse
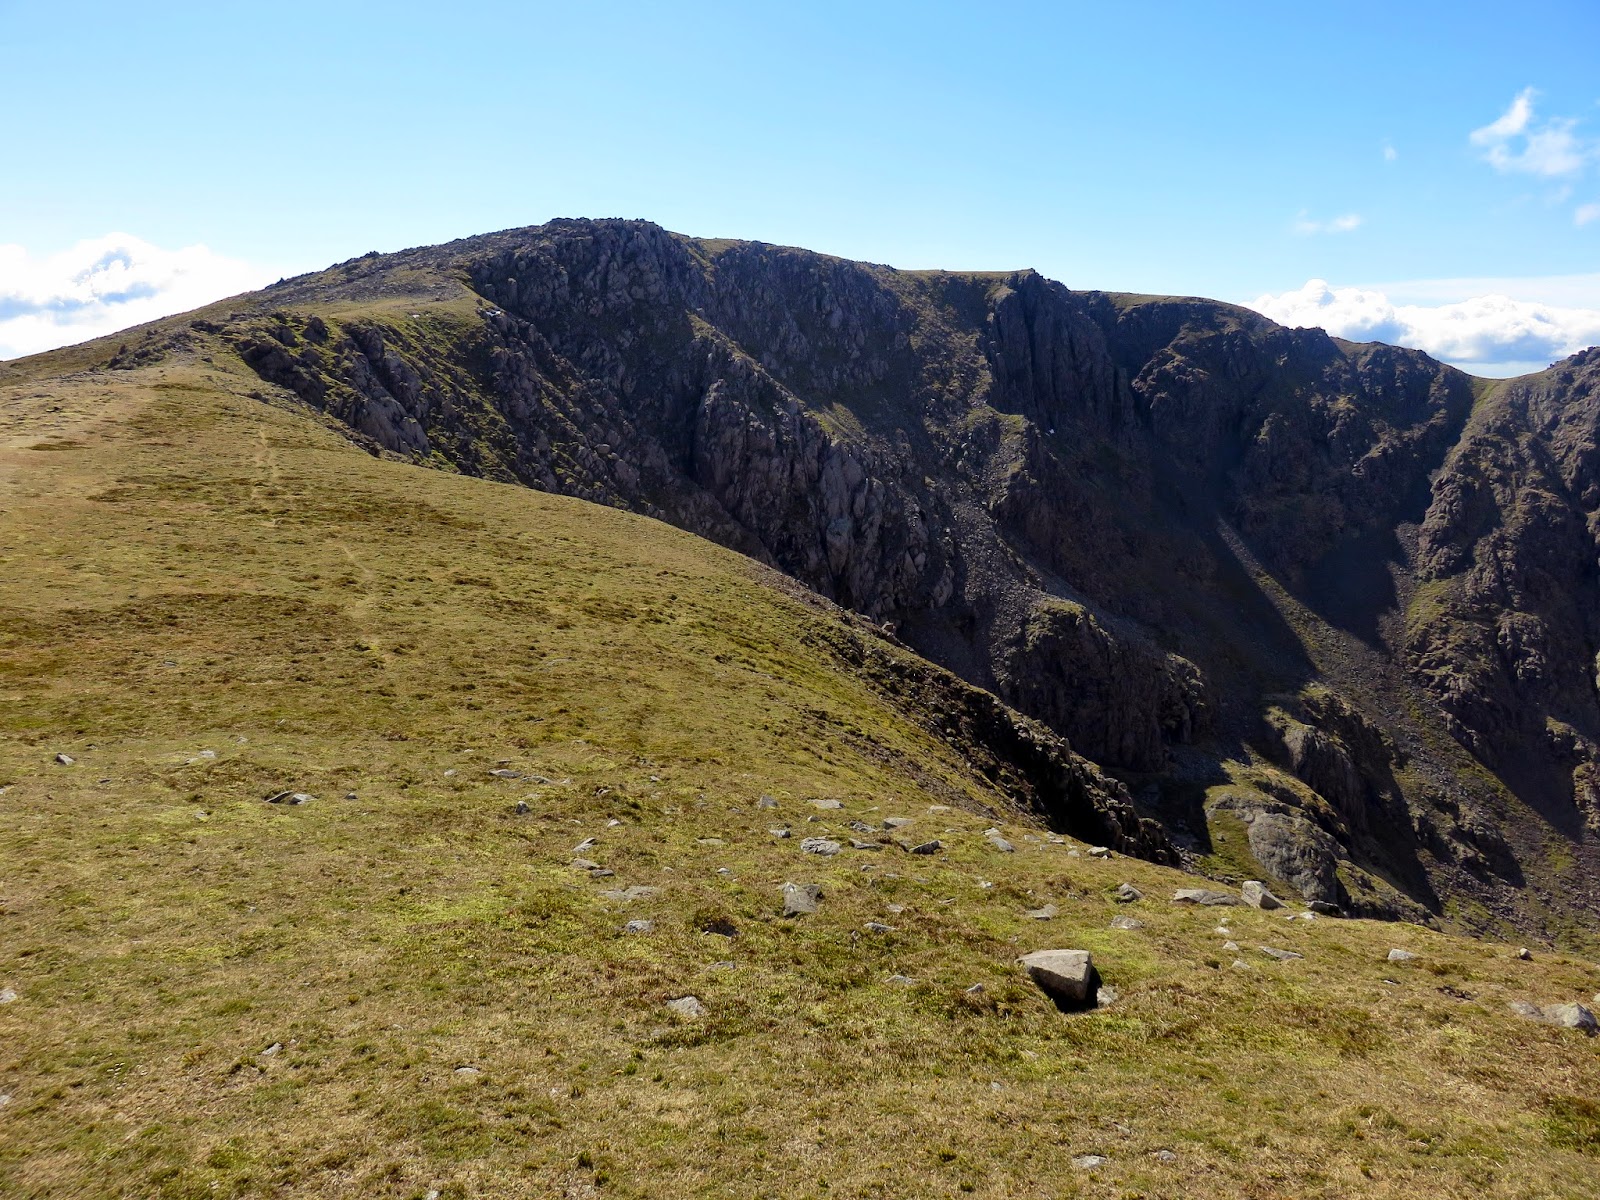
Once across the traverse, Pillar Rock seems within touching distance and looks tempting and climbable – it is, with the correct skills and equipment, of course, neither of which I possess. After a final few photos, it was time to press on, as there is still a way to go before reaching the summit. A series of short scrambles (with good hand and foot holds) climb up to a ridge where one final, more challenging, scramble leads to the slopes of the summit. It's a different world upon the summit of Pillar, gone are the dark, looming rocks, replaced by a verdant green carpet and a series of puzzled-looking walkers as they saw me emerge, tired and sweaty, from the midst of Pillar. To celebrate reaching the summit of England's eleventh highest mountain, the sun came out, a feature that had been missing for much of the day. Cue a glorious afternoon amongst the fells of Mosedale.
Heading west, the path descends into Wind Gap before climbing back out again up to Black Crag, a minor summit en route across the luxurious turf to Scoat Fell. Confusingly, the map labels the high point as 'Little Scoat Fell', contrary to 'Great Scoat Fell', though this is a result of the fells being named in relation to their area rather than their elevation – it is Little Scoat Fell that is the highest.
The Ennerdale Fence, which we met earlier in the day, becomes a proud drystone wall that crosses Scoat Fell's summit. Summit purists have built the smallest of cairns on the wall to mark the top. The rest of the summit is characterised by a grassy plateau, interspersed by numerous rocks and stones. After its dramatic appearance on Scoat Fell, the wall runs a number of miles to Crag Fell and can be a useful navigational aid in poor weather. A col separates Scoat Fell from Haycock, though before heading to Haycock, a quick trip to Steeple.
Steeple is a new one on the list for me, a small but shapely subsidiary of Scoat Fell and an easy summit to reach. It has a fine view of the crags of Scoat Fell and down into Ennerdale. Returning to Scoat Fell, I had another quick stop in the shade of the Ennerdale wall before setting off for the penultimate fell of the day; Haycock.
Haycock is one of the more remote Lakeland fells, located a number of miles from valley starting points - a long way in Lake District terms. As you might expect, the climb up to Haycock was made with heavy feet and weary legs though it represented the last significant climb of the day, Caw Fell's pleasant dome is a mere stroll. It also presents an expansive view across the Irish Sea, shimmering in the early afternoon light.
From Haycock, the route crosses Little Gowder Crag, a feature that is prominent enough to be classed as a Nuttall as well as a Birkett and definitely a feature worthy of the short climb to reach it. Beyond is Caw Fell, the day's final destination. The fell's summit is long and slender, and luckily the summit is located at the eastern end, closest to where I was. I wasn't too bothered having a good wander around; I was ready to start making my way back to the car, still a few miles away at Bowness Knott.
Silver Cove and the ridge leading back to Ennerdale – a way to go yet
I retraced my steps back towards Haycock, delving down onto an unnamed ridge that divides Silvercove Beck and Deep Gill. The path is fairly unpleasant after a long day in the fells; the uneven stones require careful placement of every step and the utmost concentration to prevent a trip. It took around half an hour to finally reach the footbridge over Silvercove Beck and enter the wooded realm of the Lingmell Plantations.
The Wild Ennerdale project was conceived in 2002, a plot to let the valley return to a wild state after years of post-war conifer planting, a project that was aided after a violent storm in 2005 felled some 20,000 of the trees in the valley, providing the perfect opportunity to replant with native species not limited to trees. Native Black Galloway cattle have been allowed to roam the valley, cattle that I encountered at Black Sail. Apparently, they can be hard to find; I found them hard to get past. Over 10 years on, and many of the harsh boundaries have been removed, peat bogs are being restored, and the valley is reclaiming what was once lost – wilderness.
It will never be truly wild, though, such is the popularity of the Lake District, a fact that was obvious as I crossed a rather large bridge and joined the track that allows visitors to access the nearby Gillerthwaite YHA. It was well over a mile back to the car from here, and I felt every step, especially the cruel uphill ones that I hadn't anticipated. Eventually, I reached the car, completing a fairly epic and rewarding day out around Ennerdale, a valley that was a near mystery to me only a few weeks ago but has taken on a new sense of familiarity.














No comments :
Post a Comment