
This map was created using GPS Visualizer's do-it-yourself geographic utilities.
Please wait while the map data loads...
Route: High Broadrayne, Low Mill Bridge, Thorny How, Easedale, Brinhowe Crag, Easedale Tarn, Belles Knott, Codale Tarn, Tarn Crag, Ferngill Crag, Broadstone Head, Brownrigg Moss, Calf Crag, Gibson Knott, Helm Crag, White Crag, Lancrigg, Goody Bridge, High Broadrayne
Date: 17/03/2019
From: Broadrayne Farm
Parking: N/A
Start Point: Broadrayne Farm
Region: Central Fells
Route length: 10.1 miles (16.2km)
Time taken: 05:45
Average speed: 1.8 mph
Ascent: 820m
Descent: 819m
Wainwrights on this walk:
Tarn Crag (549m), Calf Crag (537m), Gibson Knott (422m), Helm Crag (405m)
Additional summits: None
Other points of interest: Sourmilk Gill. Easedale Tarn, Codale Tarn
Sara and I spent an extended weekend in the Lake District recently, staying in a cosy apartment at Broadrayne Farm near Grasmere. With the high fells coated in snow and Sara not having axes or crampons, we decided to revisit some familiar territory in the form of Far Easedale - an area that has recently become synonymous with poor weather. Fortunately today, the weather would be on our side.
We chose this walk for two reasons. It's a little lower than most and, we could walk straight from the farm. We left the apartment and crossed the road to reach Low Mill Bridge. Here, the lane winds across the fields north of Grasmere until it reaches the Youth Hostel at Thorney Howe. It had been raining very heavily the day before so we had to dodge a few large puddles, utilising a drystone wall at one point to avoid one of the deeper ones.
 |
| Steel Fell with a fine coating of snow |
 |
| The watchful Helm Crag |
 |
| Seat Sandal and Fairfield |
 |
| Stone Arthur |
 |
| Blea Rigg and Creat Castle How |
 |
| Easedale Road leading into Easedale |
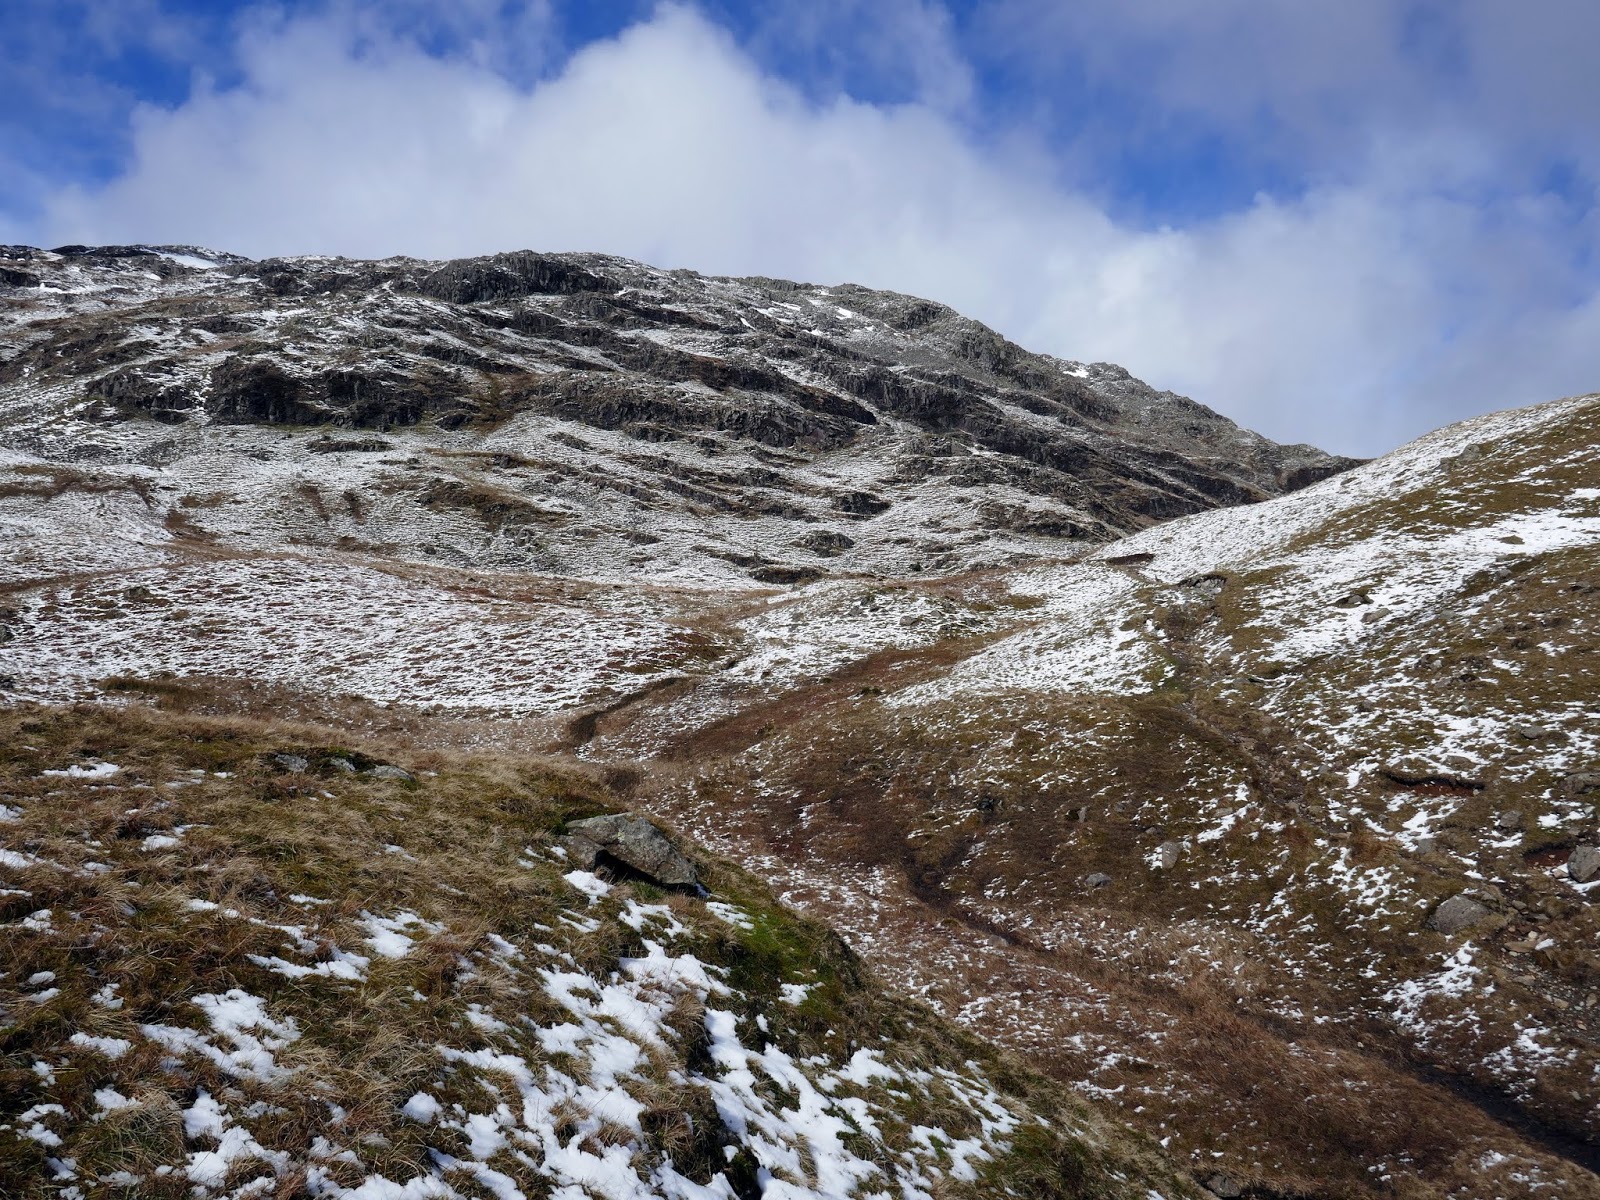
 |
| Tarn Crag |
 |
| It was a beautiful day in Cumbria |
 |
| Sourmilk Gill |
 |
| The sun shines on Easedale |
 |
| Sourmilk Gill at Ecton Crag |
 |
| Sourmilk Gill backed by the Fairfield range |
 |
| Tarn Crag |
 |
| Tarn Crag and Easedale Tarn |
 |
| Easedale Tarn |
 |
| Blea Rigg and the path around Easedale Tarn |
 |
| Easedale Tarn |
 |
| The immense crag of Blea Rigg (Blea Crag) |
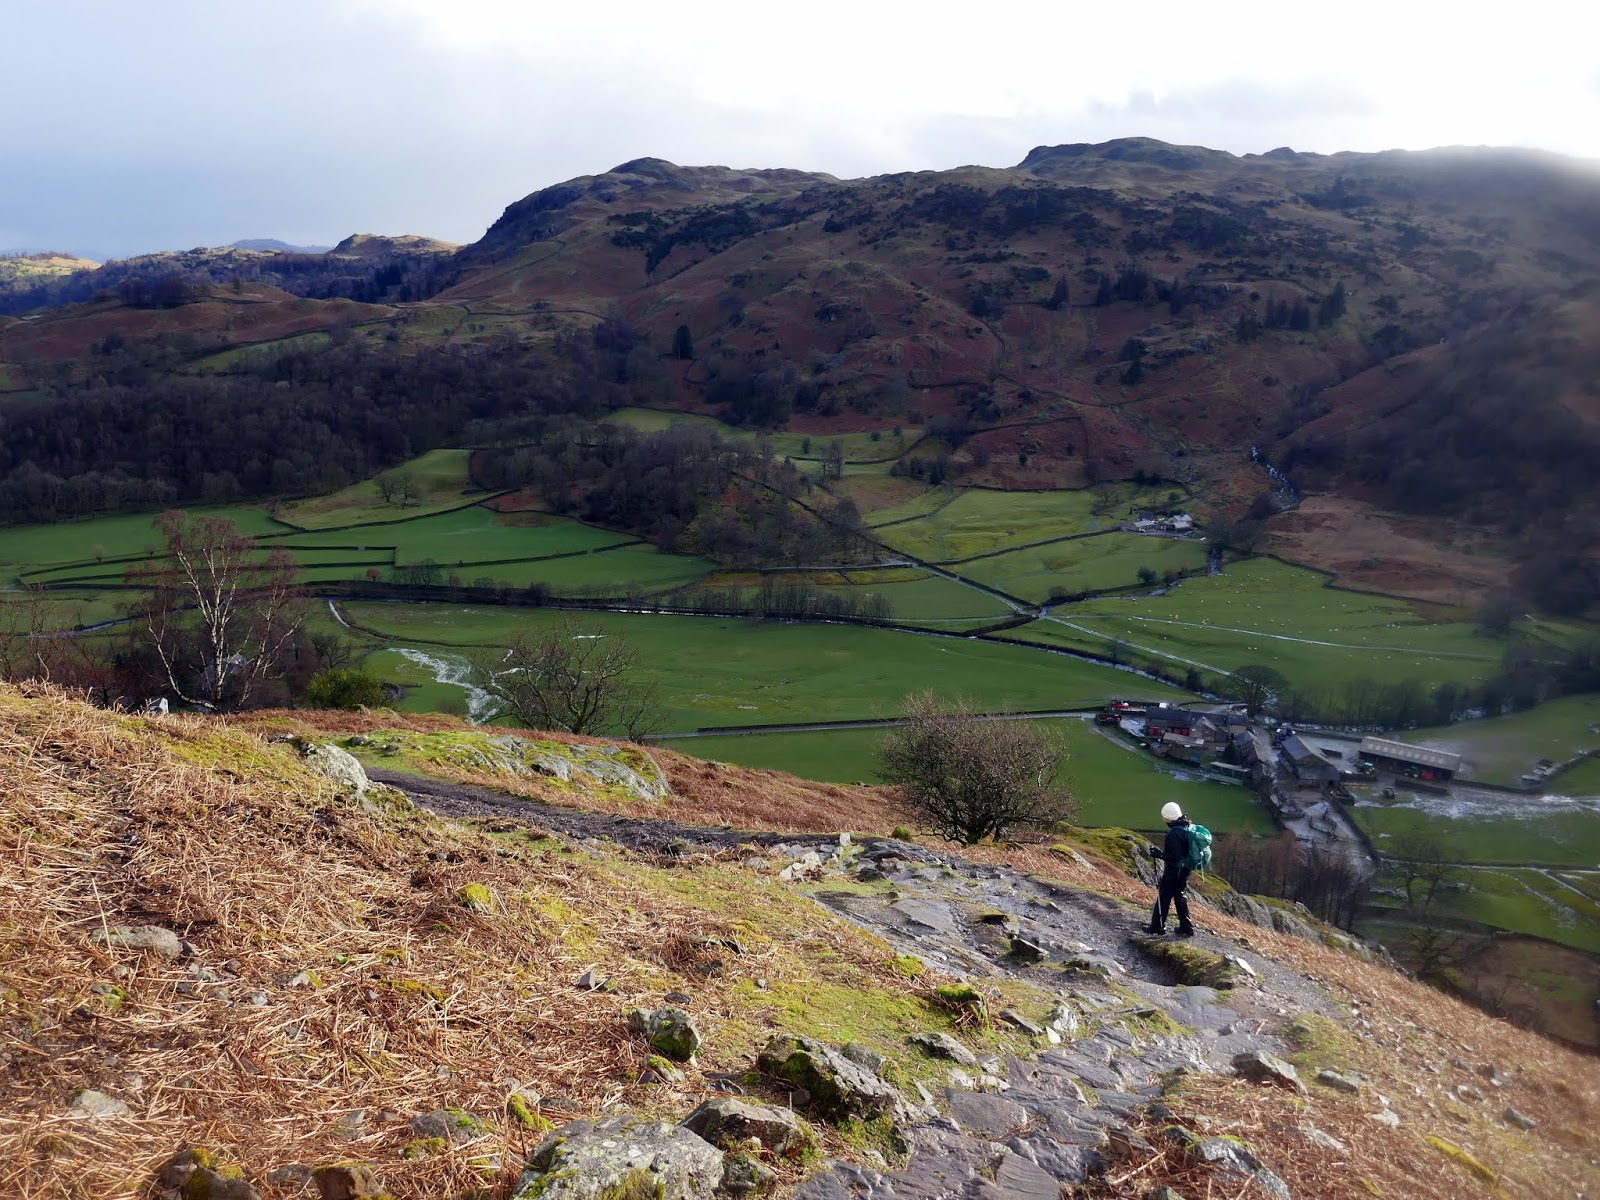
 |
| Sara heads into the depths of Easedale |
 |
| Belles Knott - Sergeant Man stands on the horizon |
 |
| Seat Sandal and Fairfield |
 |
| Belles Knott |
 |
| The majestic Easedale |
 |
| Easedale Tarn |
 |
| Sara below Belles Knott |
 |
| Lang Crag |
 |
| The Blea Rigg ridge |
 |
| Codale Tarn |
 |
| Blea Rigg and Eagle Crag |
 |
| The bumpy ridge leading to Tarn Crag |
 |
| The Langdale Pikes come into view |
 |
| Tarn Crag as a snow shower passes |
 |
| Easedale Tarn |
 |
| Panorama from Tarn Crag |
 |
| Easedale Tarn panorama from Tarn Crag |
 |
| Blea Rigg |
 |
| Clouds build over Far Easedale |
 |
| Ullscarf |
 |
| Calf Crag |
 |
| Greenup Edge |
 |
| Ferngill Crag |
 |
| Brownrigg Moss at the head of Far Easedale |
 |
| Helm Crag |
 |
| The boundary fence posts at Brownrigg Moss |
 |
| Far Easedale |
 |
| Brownrigg Moss |
 |
| Deer Bields |
 |
| Looking along Far Easedale towards Loughrigg Fell |
 |
| A shower passes Tarn Crag |
 |
| Calf Crag |
 |
| Approaching Gibson Knott |
 |
| Gibson Knott's summit |
 |
| Far Easedale |
 |
| Helm Crag's summit rocks |
 |
| Grasmere and Loughrigg Fell |
 |
| Helm Crag over Bracken Hause |
 |
| Looking back to Gibson Knott |
 |
| The Howitzer atop Helm Crag |
 |
| Helm Crag |
 |
| Stone Arthur lost in the rain |
 |
| The shower passes |
 |
| Gibson Knott |
 |
| Beautiful light over Tarn Crag |
 |
| The path at White Crag |
 |
| Easedale |
 |
| Woods at Lancrigg |
 |
| Grasmere and Loughrigg Fell |
 |
| Easedale Road |
 |
| Seat Sandal |
 |
| The road at Thorny How |
 |
| Seat Sandal |
No comments :
Post a Comment